Light that knows what to do
The photometric thinking behind a residential lighting plan that disappears as a fixture and arrives as the room. Project currently in construction.
The fixture you notice is the fixture that failed.
Most residential lighting is judged by what it looks like on the ceiling. The published image of a beautiful pendant. The catalog photo of an architectural sconce. What I evaluate, before any of that, is what the light does. Where it goes. How it falls on the materials. Whether the eye can stay in the room for four hours without quietly fatiguing. The fixture is the means. The means is supposed to disappear.
This is a project I designed under that logic. It is currently in construction. The plan is complete, the photometric calculation is closed, the specification is in fabrication. What follows is the thinking — before the room exists to confirm it.
The brief: comfort and flexibility
The clients had two requirements. Both specific. Both right.
The first was comfort. Well lit, never aggressive. No glare. No fixtures you notice when you sit on the sofa. No surfaces blown out, no corners abandoned to shadow. The kind of lighting you stop seeing because the room simply works.
The second was flexibility. The social area is fully integrated — living, dining, kitchen, gourmet zone, and the outdoor pool deck reading as one continuous space when the glass doors open. The plan needed to move from fully lit and active to cinematic and intimate, and through half a dozen states between them.
Two requirements. Both technical. Both about the body of the person in the room.
The first move: hide the source
The most important decision in the project was to put light inside the millwork.
The walls already carried wood paneling — handsome on its own. The plan lets the joinery do double duty: concealed linear LED profiles integrated into the detail, washing the wall from above and below. The fixture disappears. The light remains.
This single decision — indirect light from a hidden source — does two things at once. It lifts the ambient illuminance to the level the room genuinely needs without putting a glare source in the line of sight. And it makes the wood glow from within, instead of being lit from the front. The paneling becomes the lamp.
The choice was confirmed in Dialux with a full photometric calculation: the right luminous flux, the right beam distribution, the right spacing along the run. A walkthrough of that calculation will live at the top of this post once recorded.
The ceiling: a vocabulary of beam angles
The ceiling — a cumaru wood plane — carries the second layer. Recessed fixtures, every one of them chosen to do exactly one thing.
A 12° beam for tight, focused pools over the dining table and over the artwork on the feature wall. These are the emphases. The cinematic version of the room.
A 48° beam for the kitchen prep zones and the lounge seating. Wider distribution, softer falloff, closer to ambient. What you turn on when you are using the room.
An 80° beam for the perimeter and the circulation. The layer that fills the space without claiming attention. What makes a 1,500 sq ft open plan read as lit at low intensity.
Three beam angles. Three jobs. The dimmer, more than the switches, decides what the room is at any given moment.
What runs underneath everything
Three numbers run underneath every fixture in this project, and I will not specify a residential lighting plan without them.
The color temperature is 2700K — the warm end of the residential range, a degree of warmth that complements wood without pushing into yellow. Not 3000K; that reads as workspace. 2700 is for rooms you live in after dark. The Color Rendering Index is CRI 95 — well above the 90 threshold, because below CRI 90 the materials fight you: walnut goes muddy, brass goes dull, skin tones go strange. CRI 95 is the floor for high-end residential, and I treat it as floor, not ceiling. And the Unified Glare Rating is specified low at every fixture — which is what determines whether a room lights or punishes the eyes. Standard fixtures, even from reputable brands, often score badly here. Specifying low-UGR optics is the difference between a room you can sit in for four hours and a room that quietly fatigues you.
These three numbers do not show up in renderings. They show up in how the room feels to live in over years.
Why I calculate before I specify
I do not specify residential lighting on instinct. I specify on calculation, and refine on instinct.
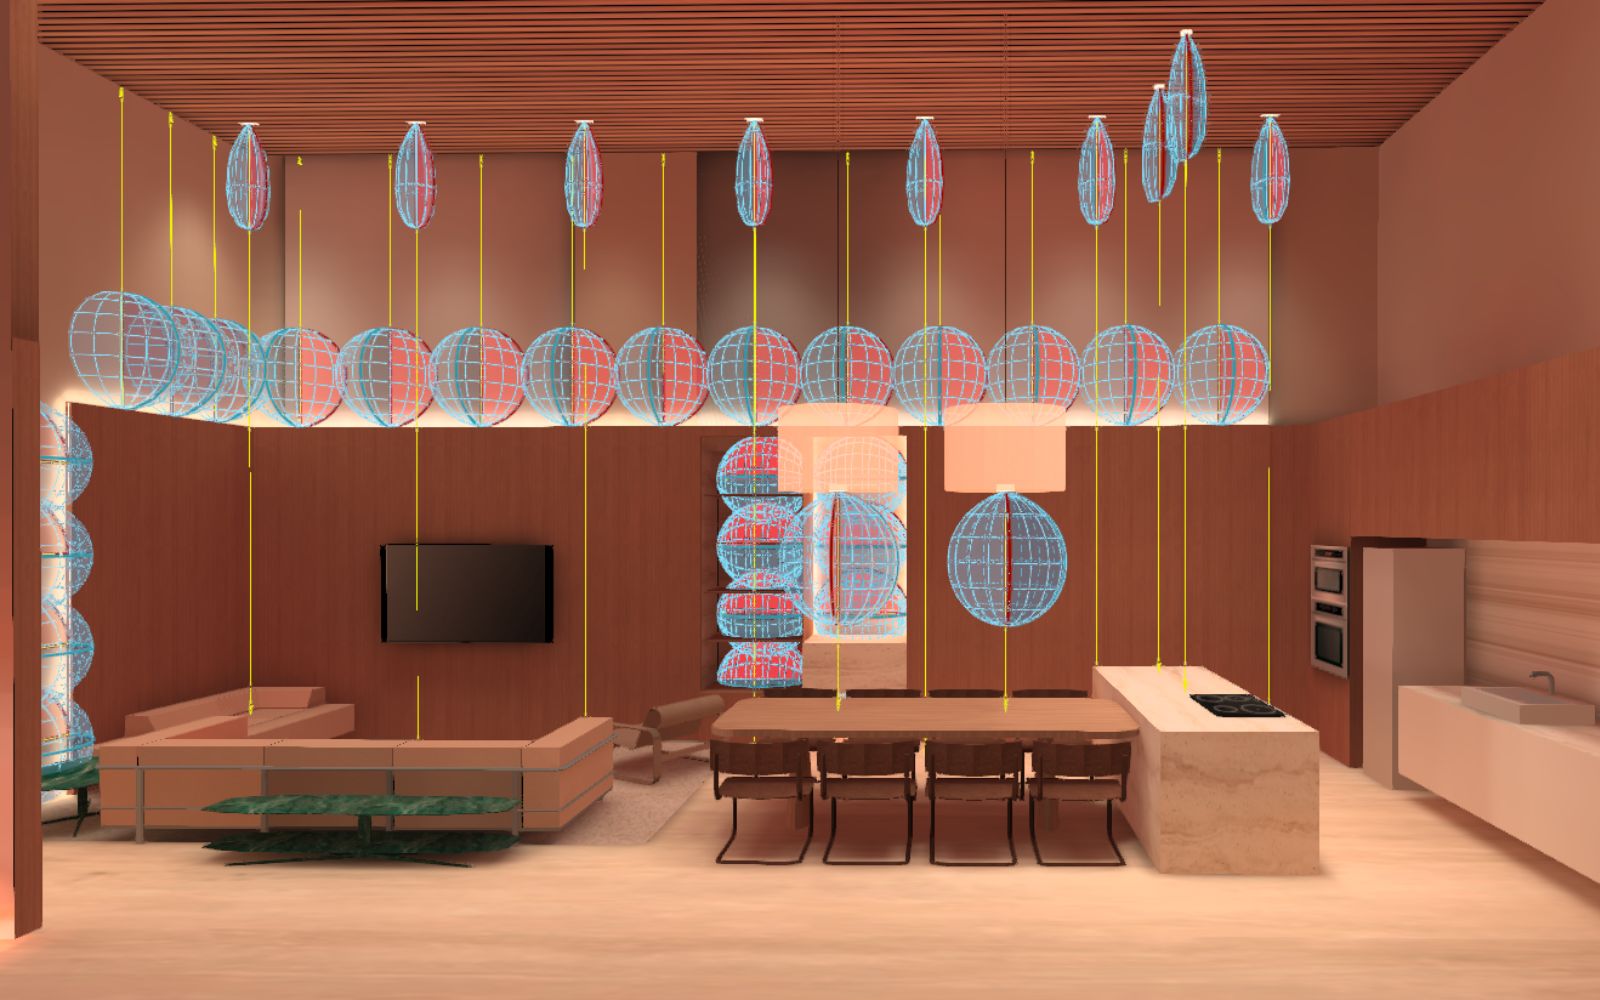
Dialux is a photometric simulation environment. It models how light will actually behave in a space — how the photons leave the fixture, bounce off the materials with their real reflectance values, and accumulate into illuminance levels at every surface. It produces false-color visualizations that show, before anything is installed, exactly where the room will be over-lit and where it will be too dark.
What this means in practice: every fixture count, every beam angle, every mounting height in this project was chosen because the calculation said so — not because it looked right on paper. The space is being built to adapt to its many uses with elegance and intention because the math allowed me to design for the math.
That is the work. Designing for results that are real and precise, instead of for guesses dressed up as decisions.
The argument
A house is not a stage. It is the place a family lives a decade of their lives in. Light, in that house, is not decoration. It is the medium through which every other design decision gets seen.
If your lighting designer cannot tell you what the UGR of your living room fixture is — without looking it up — keep interviewing.
The Dialux walkthrough video for this project is in production and will be embedded at the top of this post once recorded. In the meantime — if you have a residential project where the lighting is not behaving the way you want it to, or you are starting a renovation and want a lighting plan from the brief stage forward, write to me directly.